So how to convert emails from Outlook for Mac to PC?
- First, you have to export Outlook folders to .mbox files
- Then you should copy .mbox files to your Windows PC
- It remains to import .mbox files to Outlook for Windows
Read the full guide below for details…
Exporting emails from Outlook for Mac
Note: Outlook for Mac supports exporting folders up to 2Gb in size. Make sure that single Outlook folder does not exceed this size. If the folder is larger, you may split it into two or more folders with a smaller number of emails inside.
- Run Outlook on Mac OS and select folder you want to export;
- Drag selected folder to the desktop (this will create file);
Note: The drag-n-drop of single email will create the .eml file, but it is not what we need for the current conversion procedure. - Repeat the same for each folder you want to export.
Example is based on Microsoft Outlook 2011 for Mac, but the same should work for other versions.
Now you have to copy exported Outlook folders to the PC
You may use local network, external USB drive, Flash drive or even cloud storages to copy .mbox files to your PC. Make sure that all .mbox files were copied to the PC where you have installed Outlook for Windows. If you using a Flash drive, it is recommended to copy .mbox file to the folder on drive C:\ or D:\ (depending on your PC configuration) instead of using the USB Flash as a source.
Importing .mbox file into Outlook for Windows
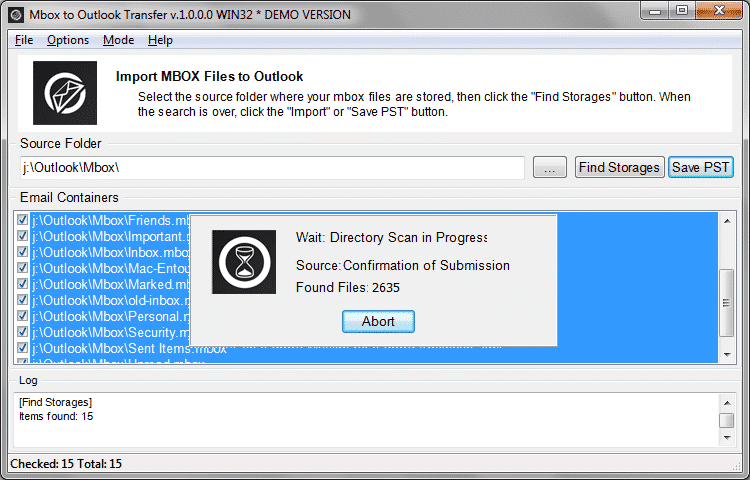
The last step is importing of Mac OS mbox files to Outlook or PST data file. For that you may use email migration software which is widely available on market. We recommend to use Entourage to Outlook Transfer or Mbox to Outlook Transfer software to perform the conversion properly. Here is how:
* - The unregistered version converts a limited number of messages- Download first or second tool;
- Install and run the converter using one of two available shortcuts. Use 32-bit shortcut if your Outlook version is 32-bit and 64-bit one if Outlook is 64-bit;
- Ensure that option “Convert email encoding…” is turned on.
- Select the source folder where your .mbox files are located using the browse button “…”;
- Click “Scan Folder” button to read the names of mailboxes. At this step you may deselect some of .mbox files to exclude them from importing;
- Click “Save PST” button and specify the location and PST file name;
- Finish with all other prompts that may appear and wait for the end of conversion.
Now run Outlook and use menu File > Open Outlook Data File menu to select the compiled PST file containing emails imported from Outlook for Mac OS.
How to import PST file into Outlook for Mac OS
And if you want to import a PST file from Outlook for Windows to Outlook for Mac, here are the instructions… First, copy your PST file from Windows to Mac OS. Then follow the simple steps below.
- Run Outlook on Mac OS and Go to menu File.
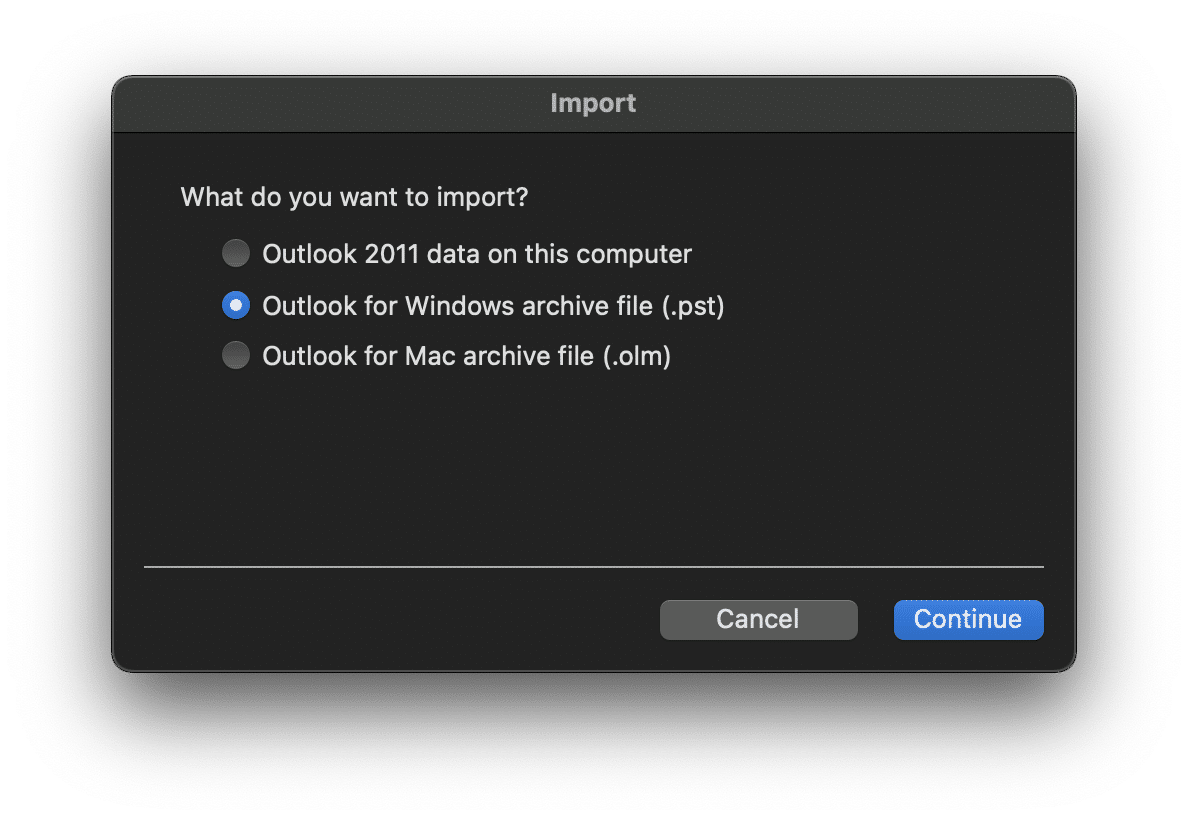
- Click Import and select Outlook for Windows Archive File (.pst). (see instruction below if Import menu is inactive)
- Select PST file you want to import and click Import button.
Emails and folders will be imported to Outlook for Mac.
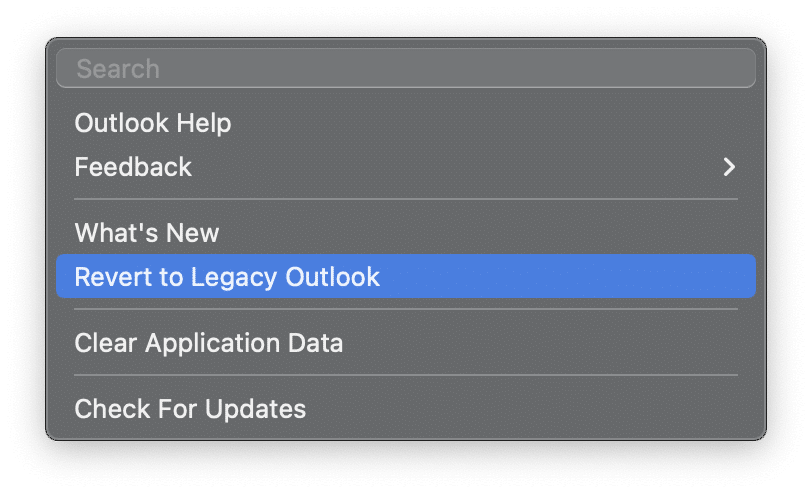
If the Import menu is grayed out, you have probably upgraded Outlook to the “New Outlook” version. You may need to switch back to the legacy version.
How to revert Outlook for Mac to its legacy version
- On the Outlook for Mac go to menu Help
- Click Revert to Legacy Outlook and confirm this
Outlook will be restarted in normal mode.
You may also want to know:
- How to migrate from Mac Mail to Outlook at Windows PC
- How to convert emails from Entourage to Outlook
- How to import Thunderbird emails to Outlook
- How to switch .mbox format to Outlook .pst format


