Aside from basic email operations, Outlook has plenty of extras to help you organize work. Tasks are items generated by its To-Do feature. They allow you to create assignments and set reminders to ensure completion by the deadline. Sometimes, users want to export Outlook tasks elsewhere or back them up.
This is a popular tool for corporate use. Tasks are accessed via the navigation pane, which contains the icon (Tasks/To Do) alongside the icons for your calendar and contacts. You may need to export tasks when upgrading the system or moving to a different machine.
Transfer to Excel is a common scenario, and it is not rocket science. Export Outlook tasks to another user or computer easily. Our guide will help you achieve a flawless result, provided each step is handled carefully. It covers two ways to approach the task — manual and automatic.
If you looking for how to integrate Microsoft To Do with Outlook check the following video:
How to Do It
If you prefer the manual path, you can use the in-built functionality to move your tasks to a spreadsheet — an Excel file. In different versions of Outlook, the wizard is summoned differently. Choose the method for your version and proceed to the subsequent steps to export Outlook tasks to Excel.
- 2013 and later: from File to Open & Export to Import/Export;
- 2010: from File to Open to Import;
- 2007: from File to Import and Export.
Exporting Outlook Tasks into CSV
After the wizard has opened, you need to click through its screens. The system will guide you through all the necessary adjustments, so you do not have to be a pro to convert the assignments.
Ways to export Outlook Tasks to Excel
If you need to export Outlook Tasks to Excel, follow the seven steps below to proceed in a manual way.
- In the wizard window, specify that you will be exporting to a file.
- Select the target format ( Comma Separated Values ) to export Outlook tasks to the CSV file.
- From the folder lists, choose Tasks for the corresponding account.
- Use the Browse feature to specify the location for your file.
- Give the CSV file a name.
- Confirm with OK
- Proceed further and click the Finish button to export tasks.
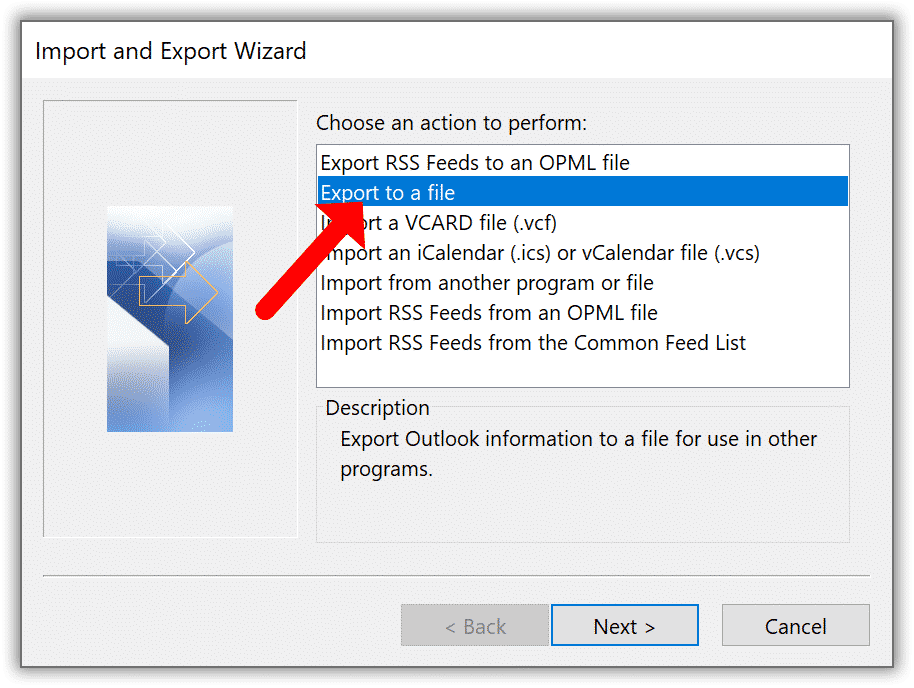
You will now see a notification warning you that the target format does not support recurring appointments or tasks. This is normal. The window prompts you to specify the date range, so do it and confirm with OK. That’s all! These steps will export Outlook tasks to a file with the *.csv extension.
Now you can open the file in Excel, save it to external storage to create a backup, or move it to another PC physically. You can also use any cloud storage accessible from both machines. The last step of conversion as CSV is simplistic — the exported file can only store a single sheet without formatting or formulas. Meanwhile, an Excel file offers wide flexibility.
Stage 2. Converting the Format
Now, you should find the file you have just created. If you export Outlook tasks to Excel — i.e., create a CSV file and open it in MS Excel — you will be able to change the format to the Excel workbook, so you can apply any formatting you like. Here is how to do this:
- Find the newly exported file (*.csv) and double-click on it to open in Excel.
- Check the contents and open the File menu.
- Save the file as an Excel spreadsheet.
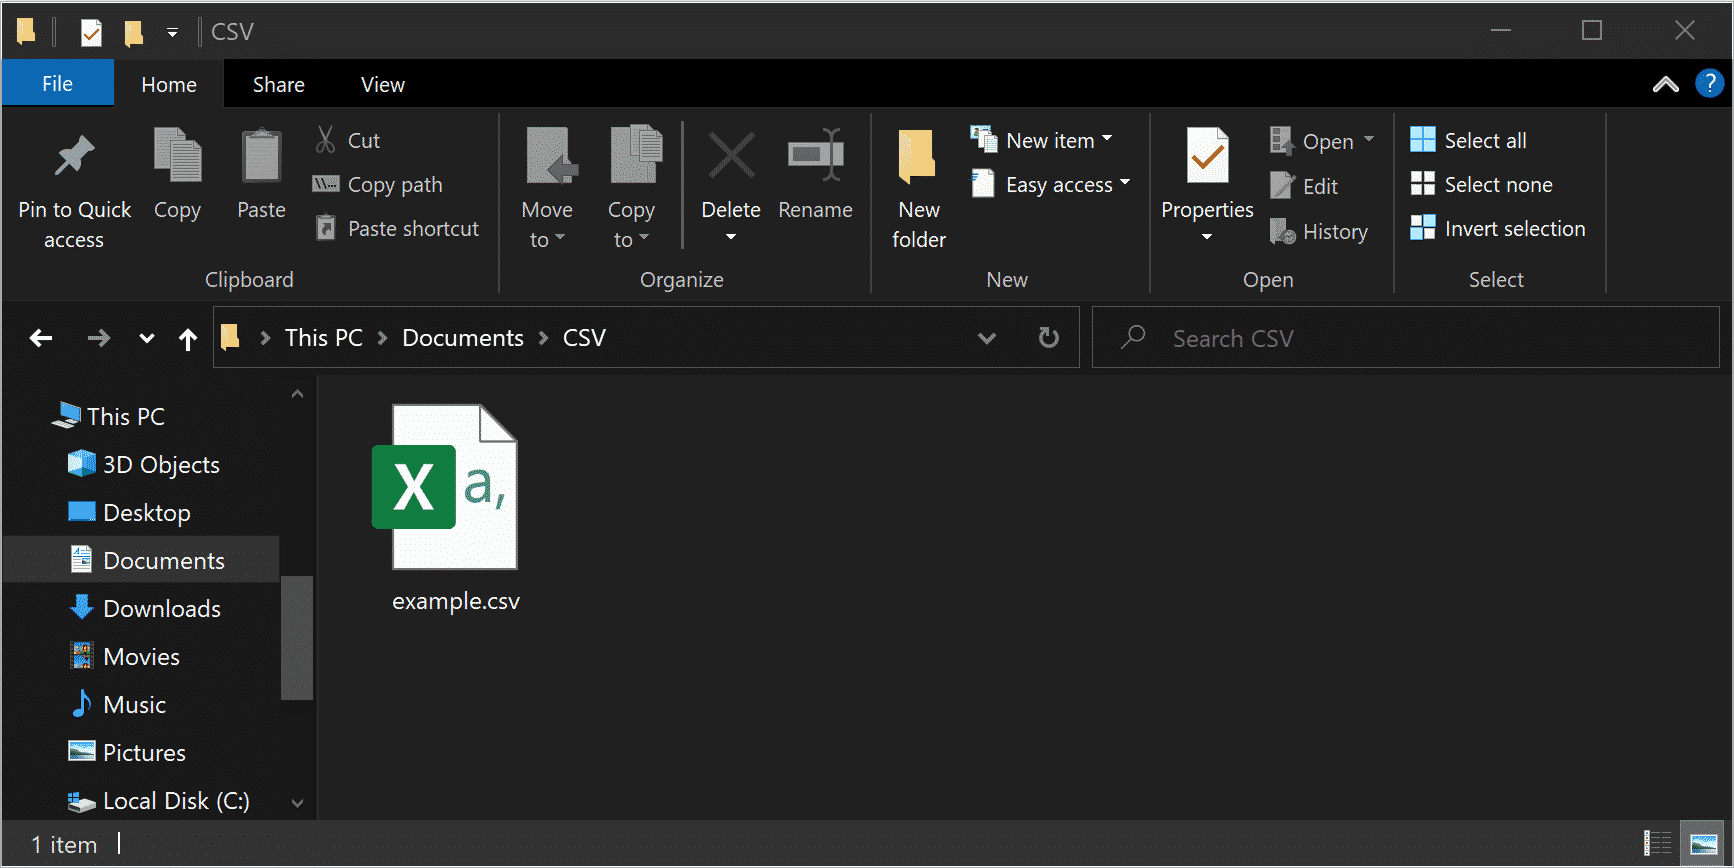
Now, you have a file that is perfectly compatible with Excel and allows rich formatting. You can split the data into several sheets, apply colors, fonts, etc. This would not be possible with plain text saved as CSV.
Backup or Export Outlook Task List as PST
CSV is not the only possible format for backup. PST, the native Outlook type, may also be created. Instead of creating an Excel file, you can save your Tasks and open them in Outlook on a different computer. Here is how.
- Open MS Outlook.
- Go to the File menu.
- Choose the Open & Export option.
- Choose Import/Export.
- Specify that you will export the data to a file.
- Choose the necessary format (PST).
- Choose Outlook tasks in the folder list.
- Save the result and finalize the operation.
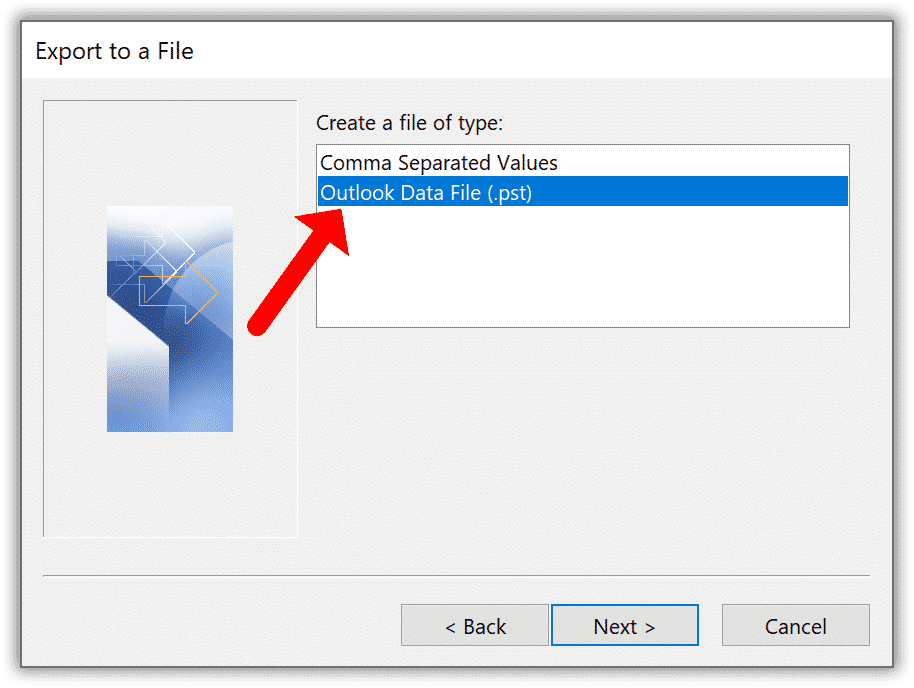
Importing the Data
After exporting your assignments, you can open them via the same program on a different computer. As PST is universally recognized by all versions of Outlook, this is a smooth procedure. Just export to a file and follow these steps.
- Open the Import/Export wizard following the instructions above (depending on your version of the mail client).
- Choose Import from another program or file.
- Choose the format (PST) and proceed further.
- Browse to the source file.
- Choose an action for duplicates (you can keep or replace them).
- Upon finishing, the data will be transferred to your copy of Outlook.
The above-mentioned procedure may also be used to transfer Tasks stored as CSV. In this case, only step 3 will be different. You will need to choose Comma Separated Values instead of Outlook Data File.
Extra Tip: An Automated Solution
Using Data Extraction Kit for Outlook, a third-party utility for smooth migration, you can transform your assignments into other formats. This is a lightning-fast and super-convenient method. Your Outlook tasks and other information may be exported to different mail systems or used for special purposes like e-discovery.
* - The unregistered version converts a limited number of messagesThe key benefits include:
- migration to dozens of other formats (PDF, EML, RTF, HTML, TXT, MHT, etc…);
- advanced archiving;
- smooth backup capabilities;
- backup and recovery of Outlook passwords;
- compatibility with all popular versions of MS Outlook, both 32- and 64-bit;
- generation of different reports for forensic purposes.
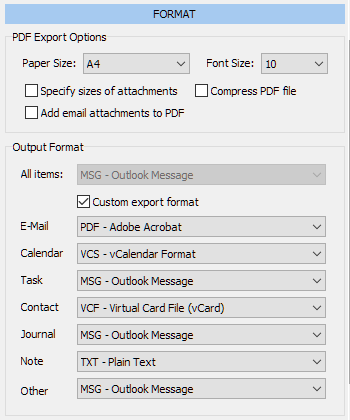
As you can see, the main advantages are speed and convenience. You will not have to go through multi-stage export/import and juggle the apps. All you need to backup Outlook tasks is one piece of conversion software. It comes with a simple interface with all the necessary features and intuitive controls. The advanced filtering options allow fine-tuning of the output.
The Bottom Line
Now you know how to export tasks from Outlook. As you can see, this is not a one-click process, but it is not beyond the average user’s understanding. All you need is the mail app and Excel. They may be installed on the same or different computers. Generating CSV is simple via the wizard. You can also export to a file with the PST extension for use in another version of Outlook.
