Table of contents:
- Finding Outlook OST File Location
- Tips On Moving Files Between The PCs
- Manual Versus Automated Changing Of The Location
The faster technologies go, the sooner we are likely to require an updated version of a PC. But what do we do with all the data stored on an old one? Luckily, you may have a smooth and seamless experience of changing PCs by staying with the same items on both of them. This can be done by converting ost file to pst ones and transferring outlook .ost data to a different PC. If you are wondering how to do this, wait for our explanations.
Nowadays, one can effortlessly convert ost to pst Outlook 2019 with some prior knowledge about these formats and some of their properties. So, we are going to begin with a little bit of context explaining these issues. OST and PST have significantly different storage properties. The latter, namely outlook ost file, stores items offline. The former, in its turn, stores data like attached documents, emails, all the contacts, and notes online.
Now when you possess the basic knowledge thereon, we will proceed with more detailed clarifications on how to transfer outlook settings to new computer, so keep reading if you want to learn more.
Finding Outlook OST File Location
Among the necessary things that would enable you to perform further transferring actions is definitely an outlook profile location. Where do we actually take these items from on our own computers before sending them to others? For those interested, here is how to look for these:
- start by opening the personal information manager. From the File Tab choose Account Settings > Account Settings > Data Files;
- see the location on the tab and decide what to do with it: either accept the offline location that appears in the Location column for the Exchange account or move it. In this case, the new files would be created automatically;
- if needed, move data to another location. By manually doing so, you avoid the risk of files being recreated more times.
Sometimes it seems easier said than done. In reality, however, it is not a big deal to open outlook data files and find their location. Such action is going to be followed by a few more steps on the way to copy outlook settings to new computer. All of these are explained in more detail in the following section of this article.
Tips On Moving Files Between The PCs
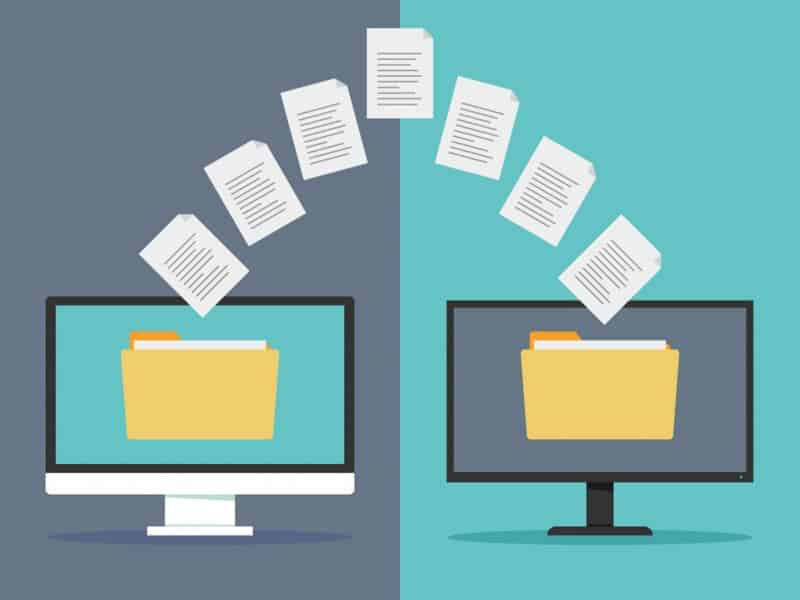
Once you have learned where to find and how to open ost files, you are ready for the next step to be properly taken. To be able to have access to the older data in the newly established profile you will have to import these data into that new profile, as simple as that. To do so you may opt for a specially designed tool which will perform all the actions itself or go for a manual transfer process which requires more patience and effort. Whatever you may choose, your goal can be achieved.
For the manual process, we recommend following this algorithm:
- Create a PST file using menu File > New > Outlook Data File;
- Proceed by saving it in the needed format and finally press OK;
- Select and copy or move the needed emails in the newly created PST file;
- Close PST file via right click > Close… ;
- Copy PST file to another PC;
- Open PST file in Outlook using menu File > Open > Open Outlook Data File.
- use the right format: create a PST file where the personal information from your account is going to be stored. To create such, jump to File,” pick “New” and opt for “Outlook Data File.” Proceed by saving it in the needed format and finally press “OK”;
- name the newly created file: do this in the “Create Microsoft Personal Folders” window that appears. Trace where this file is going to be saved and make sure you have remembered that place;
- navigation pane reconfigurations: by right-clicking on any of the saved folders in the navigation pane like “Inbox,” pick “Copy Inbox”. When the “Copy Folders” window appears on the screen, choose the “Inbox” folder you just copied and click “OK” to add it to the PST file. Repeat the process for every folder in the navigation pane;
- actual transfer: move the created folders in the yet old version to some external storage unit. Now, you have to simply plug the drive and copy these to this drive. As easy as that;
- final stage: insert the external drive into another computer being the final destination of the whole process. There, by choosing “Open folder to view files” from the “AutoPlay” box, simply drag the folders from the USB or drive to the desktop. Voila!
Manual Versus Automated Changing Of The Location
Obviously, such a manual operation does take some time. In case, if you do not have such or want it to be as smooth as possible, then recourse to an external instrument is advisable. Usually, such tools are made with respect to their target audiences, meaning that you will be able to navigate them without any additional technical understanding. Moreover, these instruments usually ensure greater data integrity and help to significantly save your time.
Ultimately, if you desperately need to change the storage place of your numerous files, our personal information manager provides you with an amazing and almost unique opportunity to do so. Furthermore, in a very likely case of you not wanting to bother with all the files formats changes and importing processes, this can also be done with the help of special tools that will create outlook data file in the needed format and change its location effortlessly.
If you need to disconnect and delete OST file from Outlook, read this article.
